Resources
CrownWall® Slatwall Panel and Trim Overview
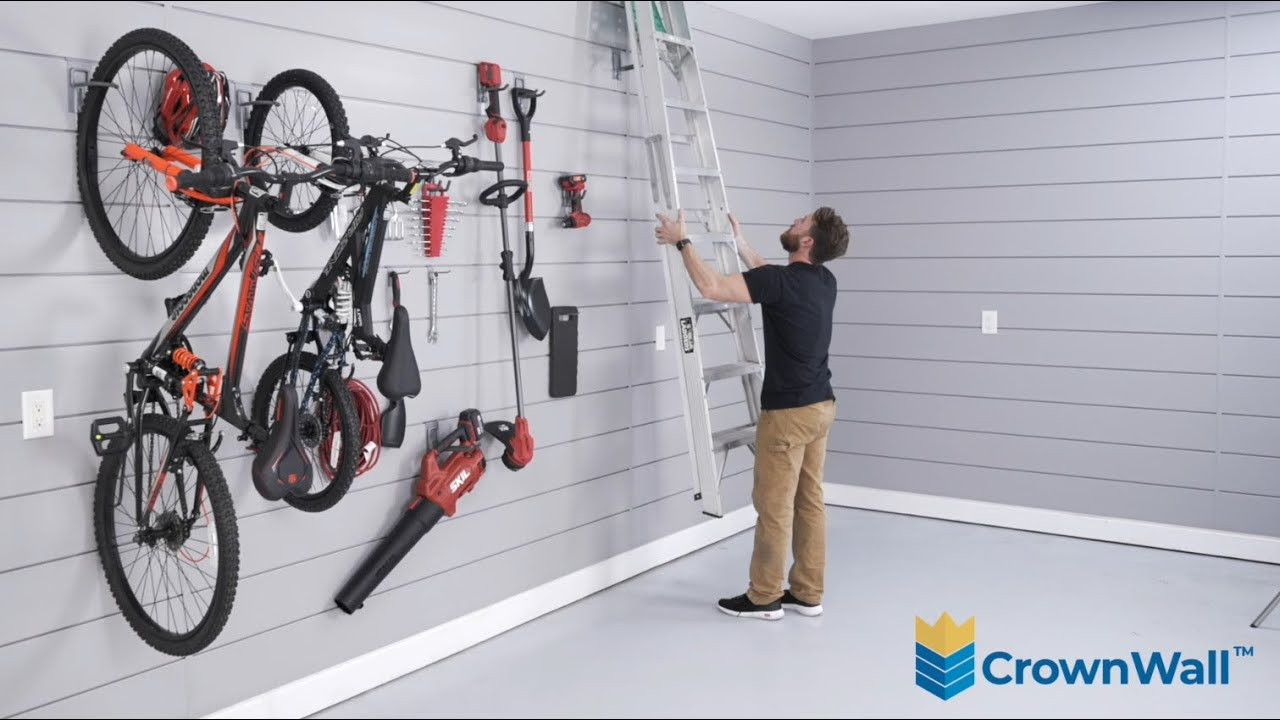
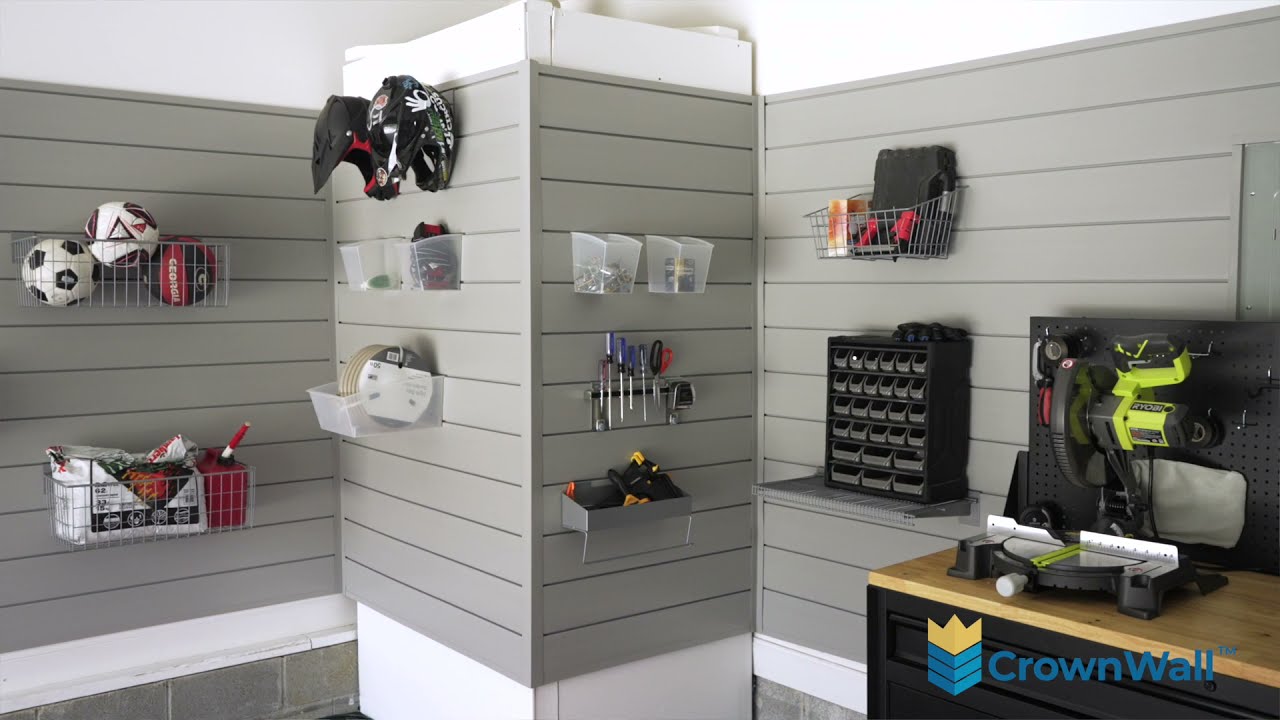
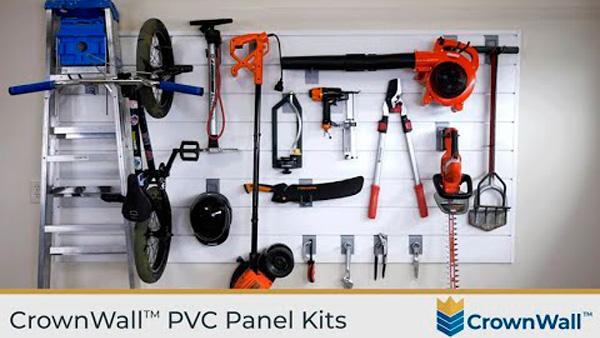
CrownWall® Overview Video
CrownWall® Electrical Installation - Outlets, Switches & Panels
![]() CrownWall Electrical Outlet/Switch Panel Installation Instructions
CrownWall Electrical Outlet/Switch Panel Installation Instructions

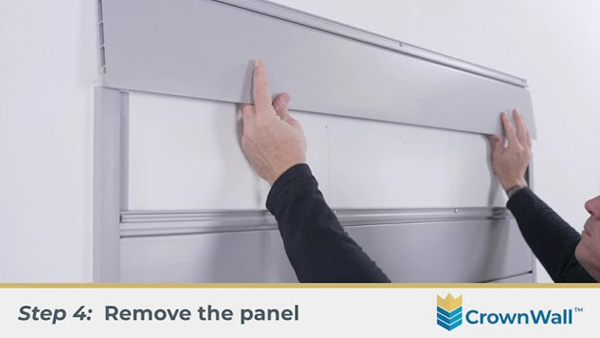
CrownWall® Panel Removal
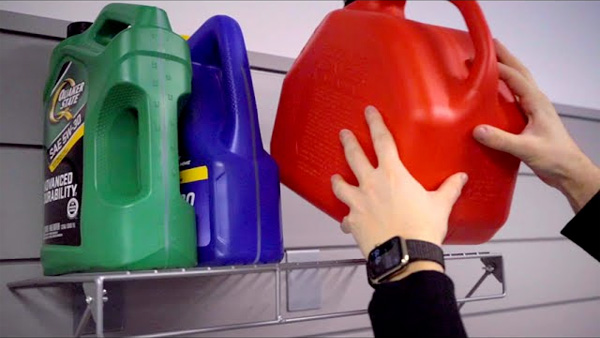
CrownWall® Wire Shelf with Rail 12" x 24" Installation
Guides and Installation documents
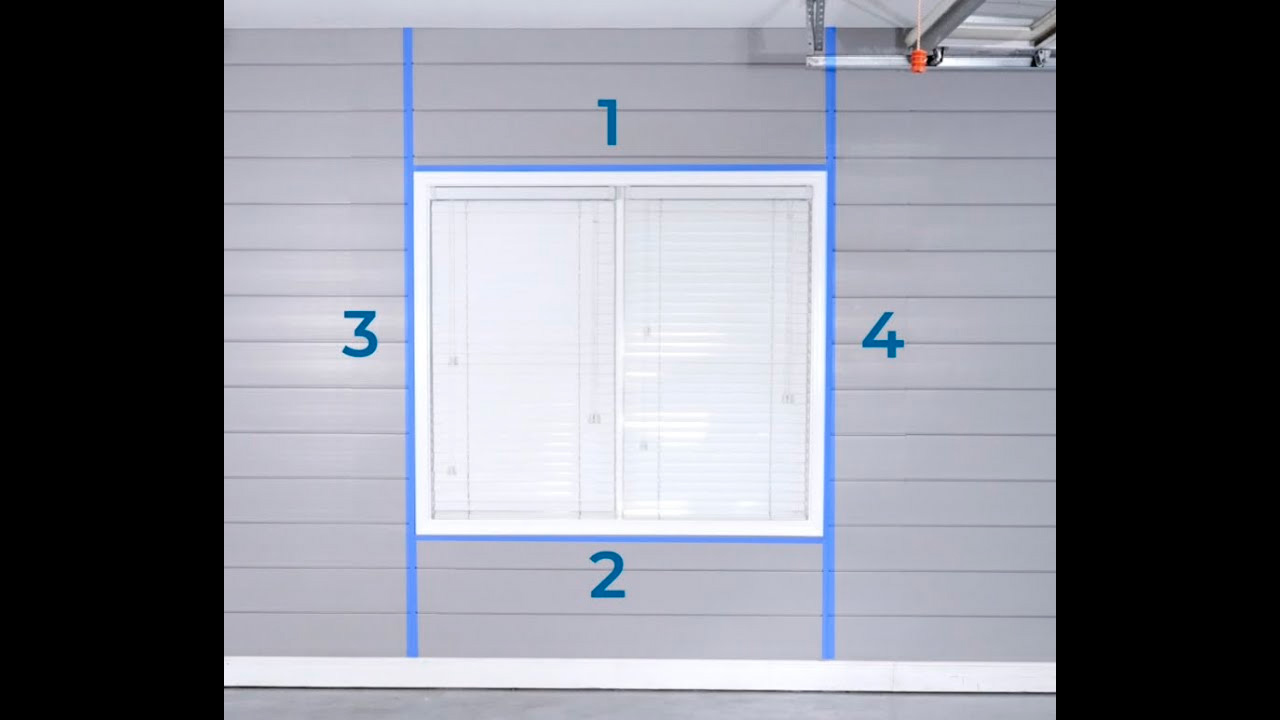
![]() Correct Installation of CrownWall
Correct Installation of CrownWall
![]() ZOOMflor Installation Instructions
ZOOMflor Installation Instructions
![]() CrownWall® PRO Series Assembly Instructions
CrownWall® PRO Series Assembly Instructions
![]() CrownWall® PRO Cabinets to a Wall instructions
CrownWall® PRO Cabinets to a Wall instructions
![]() CrownWall® Ceiling Rack Install instructions
CrownWall® Ceiling Rack Install instructions
![]() CrownWall® Wall Rack Install instructions
CrownWall® Wall Rack Install instructions
![]() CrownCore™ Wall and Ceiling Panel Install instructions
CrownCore™ Wall and Ceiling Panel Install instructions
![]() CrownWall® 8x4 - Dual 3in Slatwall Panel Bundle Install instructions
CrownWall® 8x4 - Dual 3in Slatwall Panel Bundle Install instructions
Warranty documents
![]() CrownWall® 6” Slatwall Panel Lifetime Limited Warranty
CrownWall® 6” Slatwall Panel Lifetime Limited Warranty
![]() CrownWall® 8” Slatwall Panel Lifetime Limited Warranty
CrownWall® 8” Slatwall Panel Lifetime Limited Warranty
![]() CrownWall® Slatwall Accessories 5 Year Warranty
CrownWall® Slatwall Accessories 5 Year Warranty
![]() CrownWall® Dual 3” Slatwall Panel Lifetime Limited Warranty
CrownWall® Dual 3” Slatwall Panel Lifetime Limited Warranty
Questions & Answers
General Questions
Can CrownWall be used with any slatwall accessories?
You can use any standard slatwall accessories with our products as long as they are not meant to lock in place (a lot of other manufacturers have a narrower length between slats so the locking mechanism will not work with our products).
Do you sell individual slats?
No, just 4x8 and 4x4 bundles.
What is the depth (thickness) of the panels?
The panels are 0.5” (half inch) thick.
Can CrownWall be used on the exterior as siding?
This product is designed for interior use only. Severe exterior weather will make the PVC brittle.
How do I clean CrownWall?
We recommend cleaning CrownWall with a damp cloth and Dawn dish soap (or any other gentle dish soap). For stubborn stains use a magic sponge or WD40.
Can these panels be painted?
They can be painted with a regular latex paint. However the paint will scratch very easily.
Can I use the single panels as a track system?
Yes. As with a regular installation, be sure to screw every 16”.
Will the White panels turn yellow over time?
No.
Do these look nice enough to use in a retail application?
Definitely! This product has been used for numerous retail applications.
Where can I purchase extra trim?
US customers:
https://shopus.garageroyalty.com/collections/slatwall
CA customers:
https://shopca.garageroyalty.com/collections/slatwall
Where are these panels made?
CrownWall is manufactured in Canada.
Can the panels be installed on 24" on center studs?
Yes. The panels will still perform, but may not hold as much weight as 16" on centre stud installation.
Can a baseboard heater be installed against or under CrownWall®?
Yes, a baseboard heater can be installed against or directly under CrownWall® Slatwall panels, however the temperature output must not exceed 120°F (48°C).
Installation Questions
Does this need a different type of screw (not zinc) to be used in treated lumber?
Yes, the screw used for installation should be appropriate for the substrate on which the CrownWall is being installed.
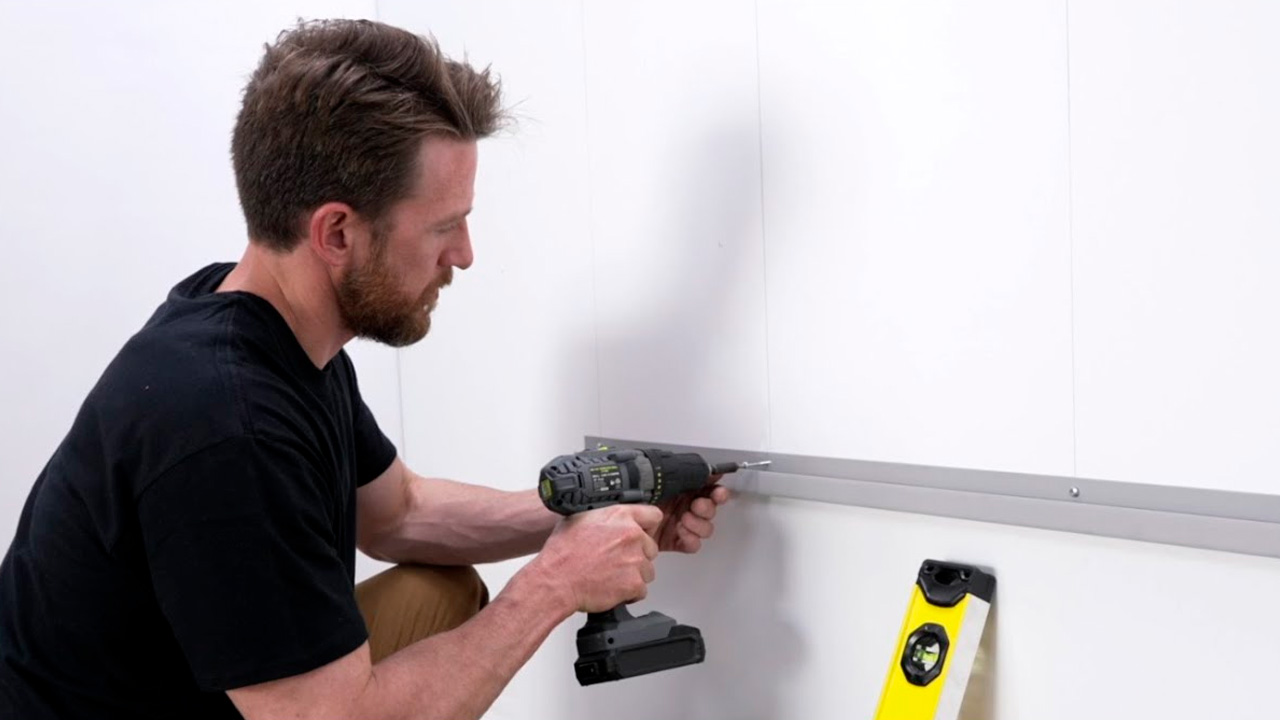
How do you cut panels?
We recommend that you use a miter saw with a fine tooth blade at high speed. If using the saw like this the panels should cut like butter. There is no need to flip them over. A jigsaw would be your last resort as the vibrations can scratch the panels. To make cutouts (for outlets) we recommend a multi-tool.
Can this wall be installed on metal studs? If so, does it affect the weight it can hold?
Yes, you must use self-tapping (self-drilling) drywall screws for installation over metal studs. However, it affects the weight capacity. It reduces to approx. 50 lbs. per sq. ft.
Concrete or Cinder Block Installation
To fasten CrownWall™ Panels directly to concrete or cinder blocks:
- Predrill holes with a bit designated for concrete - Do not drill into brick joints and grout lines as these are weak points.
- Fasten CrownWall™ Panels with minimum 2" (5 cm) flathead #8 concrete screws (not included), while following the same installation steps as with conventional wall studs.
- A minimum of 1" concrete embedding must be achieved.
What diameter do concrete screws (Tapcon) come in?
Concrete screws (Tapcon) will come in two diameters, 3/16" and 1/4". They are available with either a hex washer head or flat Phillips countersunk head. We recommend using the countersunk head as the hex head may project too far, and interfere with the panels attaching to each other.
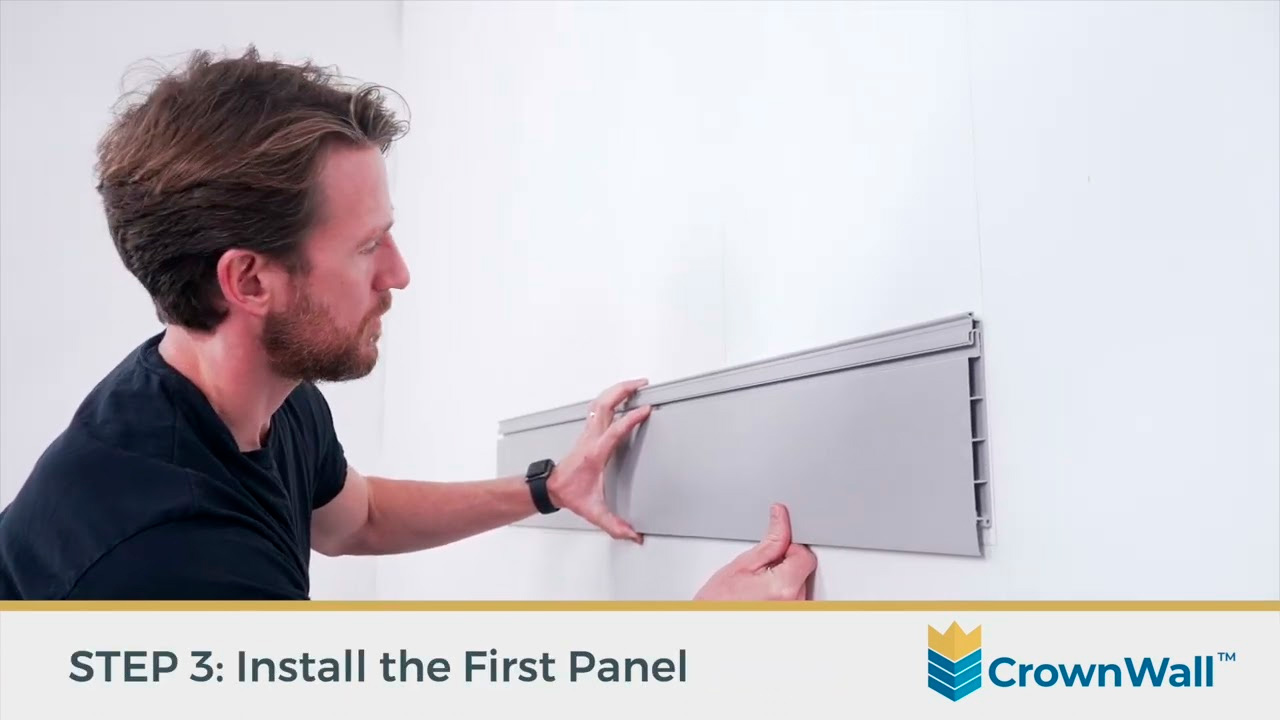
Can I install directly on studs?
We advise that you check local building codes, but yes, the panels can be installed directly on studs.
How do you uninstall CrownWall?
To take down panels, first remove screws. Then take a putty knife, wedge it between the slats on one side (not the middle) and tap the bottom of the putty knife handle with a hammer. If the panel does not snap out you may need to use more force with the hammer and putty knife. Do not bend the putty knife outwards as this can damage the panels; always push straight up.
Can I add to my installation at a later date?
It is possible to add panels to the top. Just remove the top trim and add extra panels. But if you want to add to the bottom, you will have to remove the panels and reinstall from the lower point.
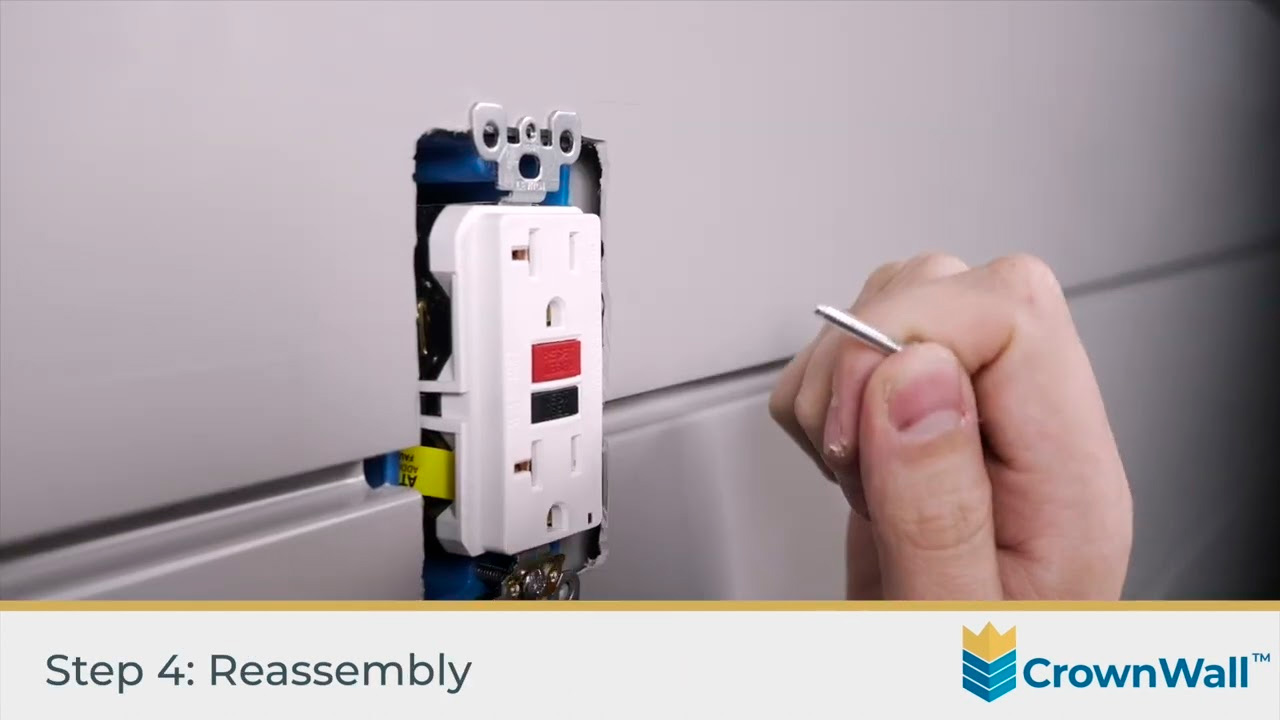
How do you install over electrical outlets?
To make cutouts (for outlets) we recommend a multi-tool. An electrical box extender is recommended.
Is there any installation help available for this?
When and how should an H-trim be used?
An H trim should be used to connect multiple sections together horizontally.
When and how should an F-trim be used?
F-Trims are to be used for both inside and outside 90 degree corners.
How do you overlap trims when using a J trim on the top (or bottom) of an installation and an H trim or J trim on the sides?
The trims should be overlapped with one another, with the top/bottom trim on the back, the side trim layered over that, and then the top/bottom trim layered over that, with the side trim as the last layer (bottom/side and top/side). Should not force one trim completely inside another as this will cause warping.
Helpful Tips:
Tip - Good to have rubber mallet and putty knife on-hand for installation. The rubber mallet can be used to snap panels into place, and the putty knife can be used to uninstall panels.
Tip - Don’t over tighten the screws as it makes it difficult to clip the next panel overtop of the one you just installed.